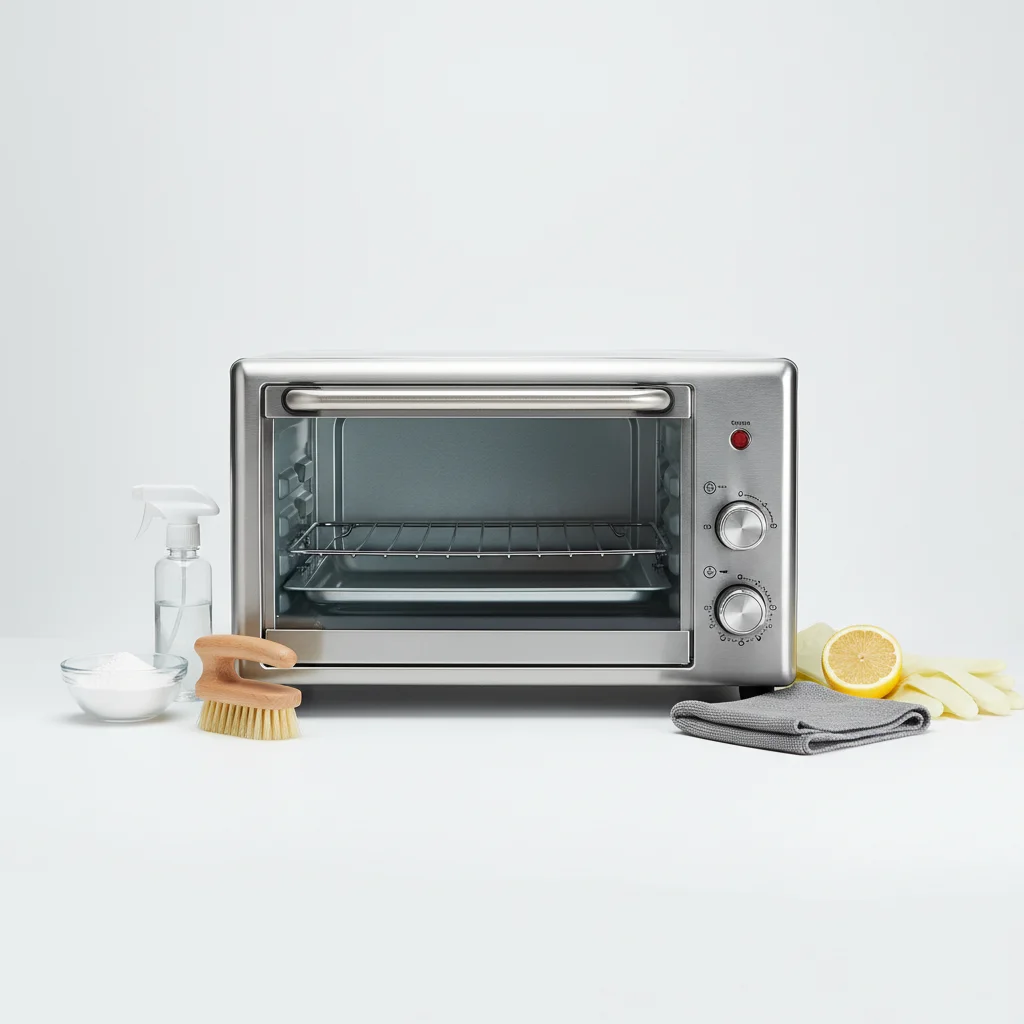
Keeping your toaster oven clean is essential for both hygiene and optimal performance. A clean toaster oven cooks food more efficiently, reduces smoke and odors, and extends the appliance’s lifespan. This guide provides five simple steps to achieve a spotless interior, ensuring your toaster oven remains a reliable kitchen companion.
Gather Your Cleaning Supplies
Before you begin, assemble all necessary cleaning materials. You’ll need warm water, dish soap, a soft sponge or cloth, a non-abrasive scrubber (like a nylon brush), and a spray bottle for a vinegar solution. For tougher stains, baking soda can be a powerful ally. Always ensure your toaster oven is unplugged and completely cool before starting any cleaning process to prevent burns or electrical hazards.
Remove and Clean Removable Parts
The first step in a thorough cleaning is to remove all detachable components, such as the crumb tray, baking rack, and any pans. These parts often accumulate the most food debris and grease. Wash them in warm, soapy water, scrubbing away any stuck-on food. For stubborn residue, let them soak for 15-20 minutes before scrubbing. Rinse thoroughly and set aside to air dry or wipe with a clean cloth.
Tackle the Interior Walls and Heating Elements
For the interior, create a cleaning solution by mixing equal parts white vinegar and water in a spray bottle. Lightly spray the interior walls, avoiding direct contact with the heating elements. Let the solution sit for a few minutes to loosen grime. Use a damp sponge or cloth to wipe down the walls. For baked-on food, make a paste with baking soda and a little water, apply it to the spots, let it sit, then gently scrub with a non-abrasive scrubber. Be extremely careful around the heating elements; never spray them directly or submerge them in water. Wipe them gently with a barely damp cloth if necessary.
- Unplug the toaster oven and let it cool completely.
- Remove and wash all removable trays and racks.
- Spray interior with a vinegar-water solution, avoiding heating elements.
- Wipe down interior with a damp cloth or sponge.
- For tough spots, use a baking soda paste and a non-abrasive scrubber.
Clean the Exterior and Glass Door
|
Our Picks for the Best Toaster Oven in 2026
As an Amazon Associate I earn from qualifying purchases.
|
||
| Num | Product | Action |
|---|---|---|
| 1 | Hamilton Beach 6 Slice Countertop Toaster Oven With Easy Reach Roll-Top Door, Bake, Broil & Toast Functions, Auto Shutoff, Silver (31127D) |

|
| 2 | TOSHIBA AC25CEW-BS Large 6-Slice Convection Toaster Oven Countertop, 10-In-One with Toast, Pizza and Rotisserie, 1500W, Black Stainless Steel, Includes 6 Accessories |
|
| 3 | BLACK+DECKER 4-Slice Toaster Oven with Natural Convection, Stainless Steel, TO1760SS (TO1760SST-1) |
|
| 4 | BLACK+DECKER TO3250XSBD 8-Slice Extra Wide Convection Countertop Toaster Oven, Includes Bake Pan, Broil Rack & Toasting Rack, Stainless Steel/Black |
|
| 5 | BLACK+DECKER TO1313SBD Toaster Oven, 15.47 Inch, Silver |
|
| 6 | Cuisinart Custom Classic Toaster Oven Broiler, 1800 Watt Countertop Toaster Oven to Bake, Broil, and Toast, Non-Stick Interior, Consistent Toast Control, Brushed Stainless Steel/Black, TOB-40N |
|
| 7 | Oster 10 Function Air Fryer Oven Toaster Oven Countertop |
|
| 8 | Hamilton Beach 6 Slice Convection Toaster Oven With Easy Reach Roll-Top Door, Bake, Broil & Toast Functions, Auto Shutoff, Silver (31123DA) |
|
| 9 | BLACK+DECKER Crisp 'N Bake Air Fry Countertop Convection Toaster Oven, Medium Capacity, 4-Slice, 5-in-1, Fits 9” Pizza, 30-Min Timer, Bake, Broil, Air Fry, Toast, Keep Warm, Stainless Steel |
|
| 10 | BLACK+DECKER Crisp 'N Bake Air Fryer Countertop Convection Toaster Oven, Large Capacity, 6-Slice, 5-in-1, Fits 12” Pizza, 60-Min Timer, Bake, Broil, Air Fry, Toast, Keep Warm, Stainless Steel |
|
The exterior of your toaster oven can also accumulate grease and fingerprints. Use a clean cloth dampened with warm, soapy water to wipe down the outer surfaces. For stainless steel finishes, a specialized stainless steel cleaner can restore its shine. The glass door often gets splattered with food. A vinegar-water solution works wonders here too; spray it on the glass, let it sit, then wipe clean with a lint-free cloth for a streak-free finish.
Final Touches and Maintenance Tips
Once all parts are clean and dry, reassemble your toaster oven. To maintain its cleanliness, make it a habit to empty the crumb tray after every few uses. Wipe up spills immediately to prevent them from baking onto surfaces. A quick wipe-down of the interior and exterior once a week can prevent the buildup of grime, making deep cleaning less frequent and much easier. Regular maintenance extends the life of your appliance and ensures it’s always ready for your next meal.
Frequently Asked Questions
How often should I clean my toaster oven?
You should deep clean your toaster oven at least once a month, or more frequently if you use it often. Emptying the crumb tray after every few uses and wiping up spills immediately can prevent grime buildup.
What cleaning solutions are safe for toaster ovens?
A solution of equal parts white vinegar and water is safe and effective for cleaning the interior walls and glass door. For stubborn baked-on food, a paste made from baking soda and water works well.
Can I use abrasive cleaners on my toaster oven?
No, avoid abrasive cleaners or scrubbers as they can scratch surfaces and damage the toaster oven's finish. Always opt for soft sponges, cloths, or non-abrasive scrubbers like nylon brushes.
How do I clean the heating elements safely?
Never spray heating elements directly with water or cleaning solutions, and do not submerge them. If necessary, gently wipe them with a barely damp cloth after the appliance is unplugged and completely cool.
What are the benefits of regularly cleaning a toaster oven?
Regular cleaning improves cooking efficiency, reduces the risk of smoke and unpleasant odors, and extends the overall lifespan of your appliance. It also ensures a more hygienic cooking environment.
Clean Your Toaster Oven for a Spotless Interior
Follow these simple steps to thoroughly clean your toaster oven, ensuring it remains hygienic and performs efficiently.
Collect warm water, dish soap, a soft sponge, a non-abrasive scrubber, and a vinegar-water spray. Crucially, unplug the toaster oven and allow it to cool completely before starting any cleaning.
Remove the crumb tray, baking rack, and any pans. Wash these components in warm, soapy water, scrubbing away debris. For stubborn residue, soak them for 15-20 minutes before rinsing and drying.
Spray interior walls with a 50/50 vinegar-water solution, avoiding heating elements. Let it sit, then wipe with a damp cloth. For baked-on spots, apply a baking soda paste, let it sit, and gently scrub with a non-abrasive tool. Wipe heating elements gently with a barely damp cloth if needed.
Wipe the exterior with a damp, soapy cloth. For stainless steel, use a specialized cleaner. Spray the glass door with the vinegar-water solution, let it sit, then wipe clean with a lint-free cloth for a streak-free finish.
Once all parts are clean and dry, reassemble your toaster oven. To maintain cleanliness, empty the crumb tray after every few uses and wipe up spills immediately. A weekly quick wipe-down prevents grime buildup.

I’ve been looking for a good routine to keep my toaster oven in top shape, and this delivered! Focusing on removing and cleaning the removable parts first really streamlines the whole process. My food tastes better now that there’s no lingering smell from old crumbs. It’s amazing how much better it performs when it’s clean.
I always dreaded cleaning my toaster oven, but the tip about using a vinegar solution in a spray bottle made such a difference! It really helped loosen up the baked-on grease without all the harsh scrubbing. My toaster oven looks almost new now, and it smells so much better when I’m cooking. Definitely a game-changer for keeping things hygienic.
The guide was super helpful, especially the reminder to always unplug the toaster oven and let it cool completely before starting. I used to just dive right in, but taking that extra minute made the whole process safer. The baking soda paste for tough stains worked wonders on some old spills I thought were permanent. Good practical advice.
While the steps were clear, I found that even with the non-abrasive scrubber, some of the really stubborn, burnt-on bits on the heating elements were still a challenge. I wish there was a specific trick for those. It did help with the crumb tray and general interior, but those really stuck-on spots are still there.